We ship nationwide. Free standard shipping on orders over $75.
BIG SALE OFF UP TO 30%
Bring life and beauty to your spaces
Immerse yourself in a world of greenery with our diverse selection plants.
Shop Categories
Diverse indoor greenery to suit any corner
Our extensive collection features petite and small plants perfect for any room. We regularly update our stock to ensure freshness and quality, offering a diverse range suitable for UK delivery. From tiny accents to statement pieces, we have you covered.
Plus, our selection includes plants for various conditions and elegant small plant pots to suit every taste.
Featured product
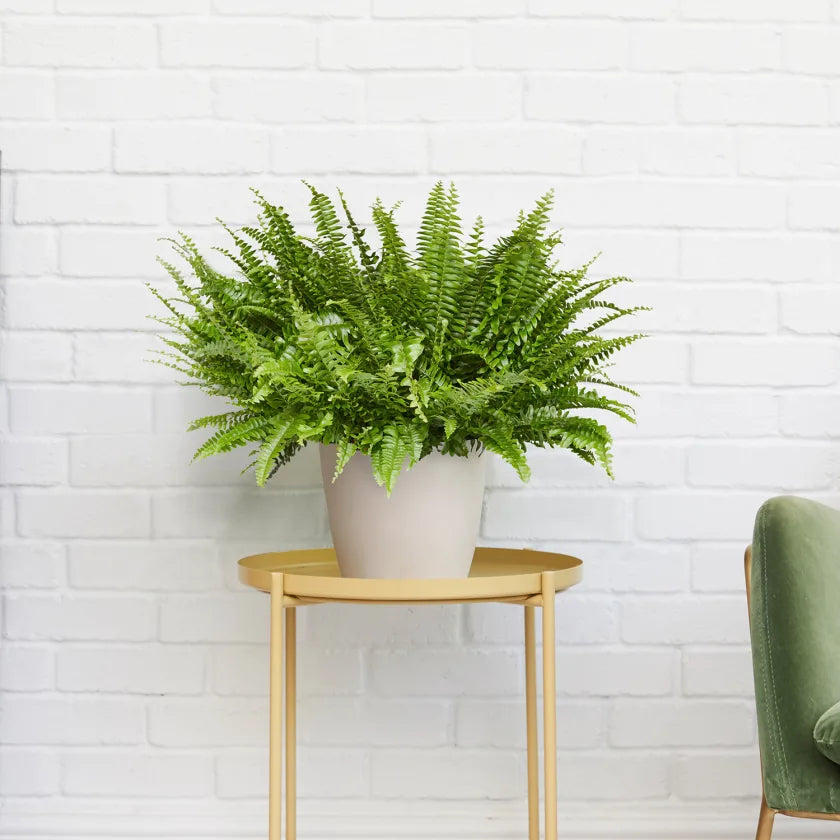
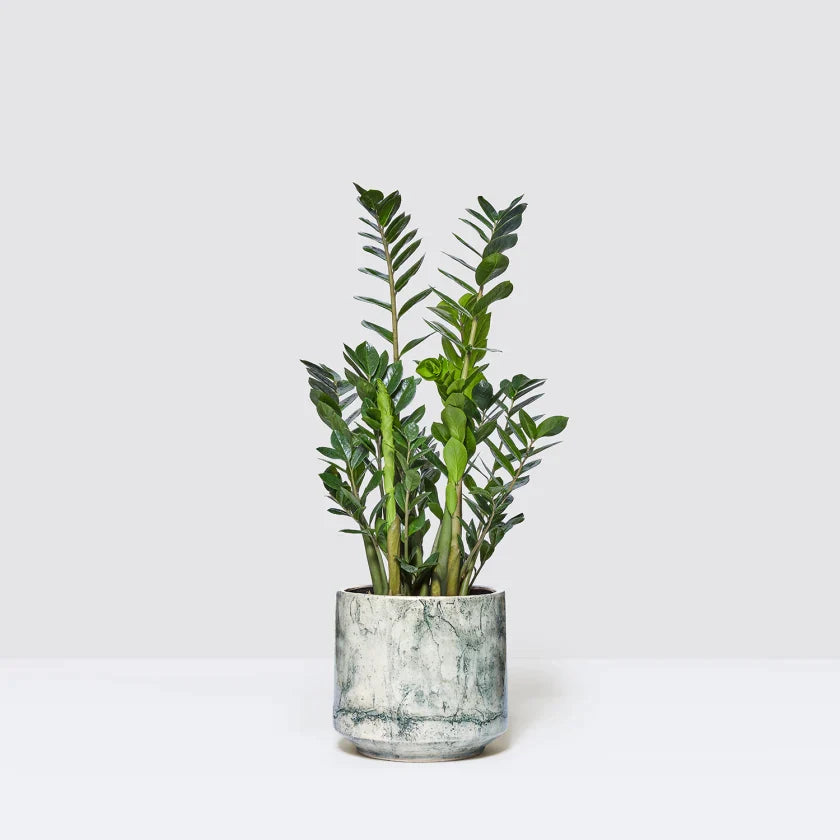
Hardy houseplants
$12.99
In the wild they can grow incredibly tall, sometimes reaching around 18 metres.
HOT SALE OFF UP TO 50%
Welcome this summer with tropical plants
Get ready for a hot and vibrant summer with incredible discounts exclusively on tropical plant products. Don't miss out on this deals!
D
D
D
D
Days
H
H
Hours
M
M
Minutes
S
S
Seconds
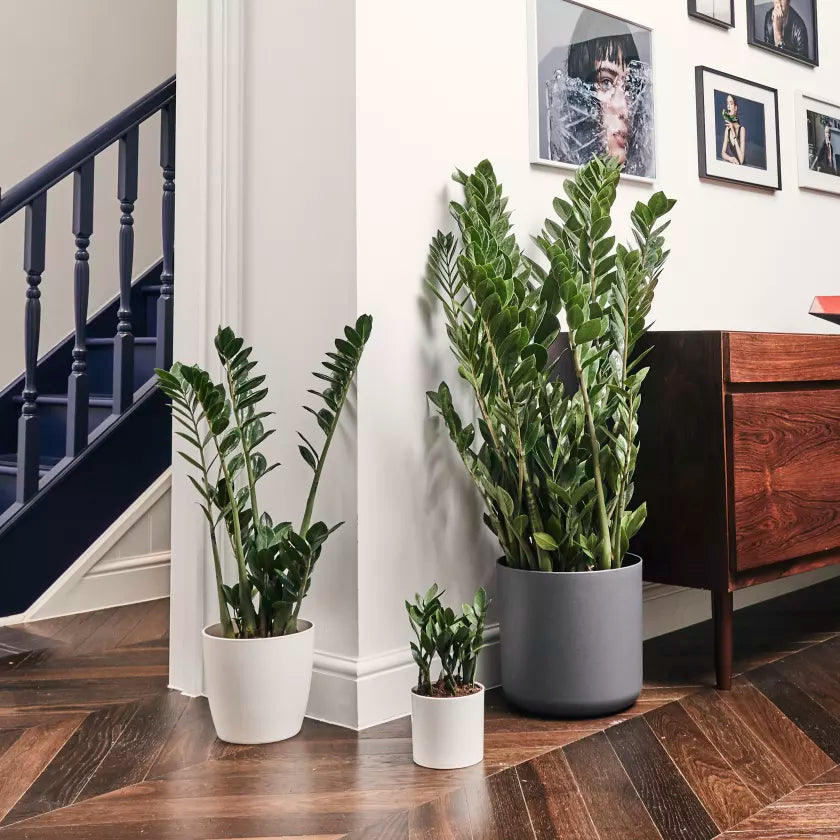
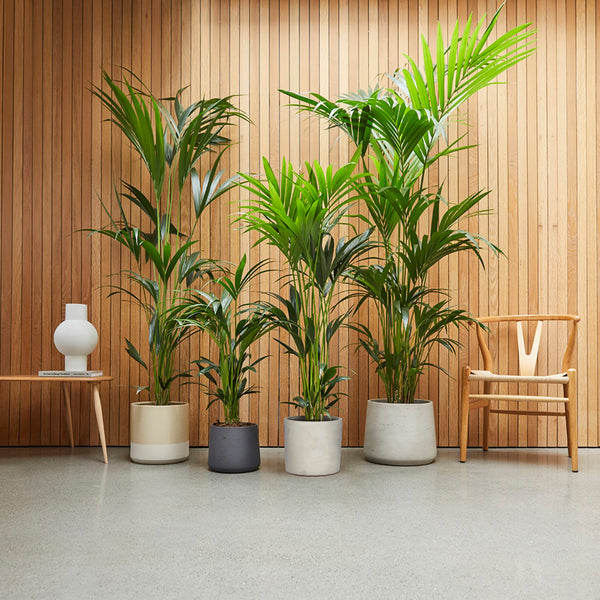
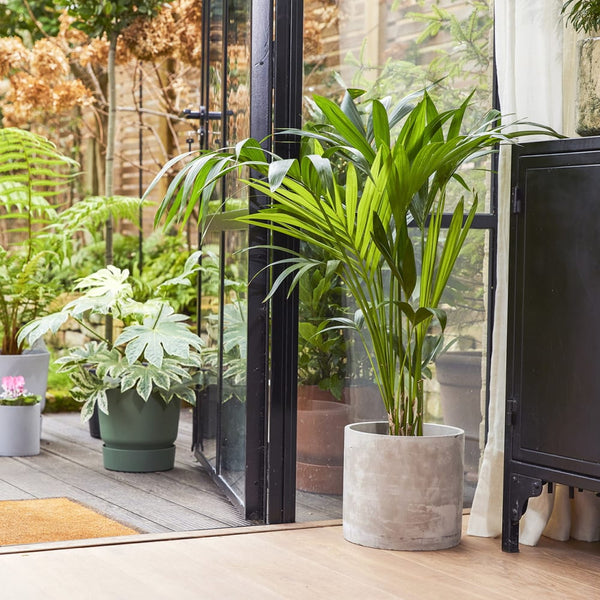
Shop the look
Latest blog posts
If you're looking for an indoor tree that is both decorative and unique, consider fruit trees! Although many of these plants reach enormous proportions and are often best suited to permanent sunshine, there are a number of dwarf varieties that can thrive, and even bear fruit, in a large container in your living space or office.
The first and most crucial question is whether or not fruit trees can be successfully grown in a residential setting. Though difficult, this is by no means an insurmountable obstacle. Besides, the flowers of a fruit tree often have a pleasant scent, and the fruits can add a splash of colour to your decor. So it's no surprise that growing one is a popular alternative to growing traditional houseplants.
If you're interested in making an investment in one of these perennial edible plants, this blog will walk you through selecting the best plant for your environment and providing the basic care it needs to thrive for years to come.
HOW TO CHOOSE THE BEST FRUIT TREES TO GROW INDOORS
Dwarf varieties of common Fruit Trees are the best choice for the home environment. This helps make up for the fact that most of our homes have limited height and space. Proper drainage is crucial for all your planters, similar to how it is with all indoor plants. You should think about the planter's durability in addition to its weight and size, particularly if you need to move your plant because of changes in light during the course of the year or if it needs to be replanted.
Be sure to also think about where you want to put your soon-to-be-new houseplants. Your fruit tree needs a lot of light to grow and give you a good harvest, so give this some thought.
Many indoor fruit trees are suitable as patio plants. In contrast, in colder climates, they must be brought indoors for the winter. In the summer, when there is no longer a chance of frost and it is warm enough, they can return to the outside. In the autumn, bring them inside before the nighttime temperatures fall to avoid stress on your plant. Also, spray them with a spray that kills pests, to stop them from bringing any unwanted vagrants with them. Read up more on Houseplant Pests treatment here.
Without a greenhouse, you can't expect indoor fruit trees to produce a lot of fresh fruit. But many dwarf fruit trees will give you regular small harvests if you give them the right conditions, so you can enjoy your harvest no matter how small it is.
CITRUS
There are many different kinds of citrus trees for sale, from the rare Finger Lime to the more common Sweet Orange, Kumquat, or traditional Lemon Trees. Citrus is a fruit that originated in parts of tropical Asia and has since spread all over the world.
When lemons, limes, and sour oranges were brought to Europe after the Crusades, nobles and wealthy merchants liked them right away. With this, they started to grow it in almost every palace and garden in Europe, for either ornamental, medicinal, or edible reasons.
Lemons and limes commonly have sharp thorns, but there are cultivars available that don't have thorns. These are said to taste less good and produce less fruit. Some varieties of orange only have small, blunt thorns at the base of the leaves.
At the end of each stem, groups of fragrant white flowers grow. Depending on the type, most citrus trees bloom in the spring and produce fruit in the autumn and winter. Some, like lemons, limes, and kumquats, may flower and fruit at different times all year.
WHY DO WE LIKE IT?
Citrus trees are known for their broad, glossy leaves and their adaptability to being trained into a variety of shapes and sizes. Furthermore, if you give them the right lighting conditions, you should get a steady harvest.
Overall, they produce sweetly fragrant flowers that are self-pollinating, so you won't have to worry about doing any extra work to ensure a healthy crop.
THE BEST WAY TO CARE FOR CITRUS PLANTS INDOORS
The more light you give to your citrus tree, the better it will grow. As a result, the best spot is the sunniest window in the house. But drafts from open doors, heaters, air conditioners, or cracked windows can hurt the look of your plant.
Be certain the chosen planter has adequate drainage before watering your plants. Citrus hates sitting in soggy soil, which leads to leaf drop and brown tips on the foliage. You could say the same thing about letting the soil dry out too much. The best results will come from finding a good middle ground.
If you want your plant to produce good fruit, you must feed it. Nitrogen is often the main ingredient in a general-purpose fertilizer, and citrus trees love it. But you could also think about using fertilizer made especially for citrus trees or something that is Seaweed based, such as Kelpak. Feeding regularly is essential for success.
Plant care is simple once you understand the basics. Here’s our short, comprehensive guide of simple tips and tricks, as well as common symptoms, to help you create a thriving indoor garden. Look out for some great FAQ, top tips and techniques. This is our ultimate go-to guide for beginners!
1. WHEN DOES A HOUSE PLANT NEED TO BE WATERED?
As a new plant parent, you will be surprised at how little you actually need to water. We frequently hear, "I want a low maintenance plant," and when we ask what this might entail, the majority of people respond, "A plant I do not have to water every day!".
This is a common misconception in both the indoor and outdoor gardening communities. If you think about it, it rarely rains every day, and if it did, our plants would be very different from what we have now. Most of them would be adapted to an aquatic lifestyle.
Most plants have developed storage mechanisms for retaining moisture, including many Jungle types with thick roots or leaves that act as reservoirs. In general, when the soil becomes nearly dry, the majority of plants require water. This, however, is plant-dependent and is determined by where they naturally grow in their endemic habitat.
So, when it comes to how frequently to water, consider the plant's natural habitat, which we include in our care guides, the environment where the plant will be kept, such as in the bathroom or on a window sill, as these two locations can have drastically different conditions, and finally, how much light exposure there is.
WHEN TO WATER YOUR HOUSEPLANT?
TIP 1: If in doubt, don't water. It's easier to fix underwatering, than overwatering. Under-watered plants generally just need to fill up their reservoirs and will bounce back easily, unless the whole plant is crisp in its pot. Overwatered plants, on the whole, have most likely succumbed to fungal infections or root rot, which can sap the plant's energy resources.
TIP 2: Set a regular time weekly to check your plants to see if they need water. Sometimes they may not. So check for watering needs, don't just water without assuring yourself they need it.
While doing your regular checks, keep an eye out for the following:
DRY CRISP LEAVES AND WILTED FOLIAGE
This is a sign that your plant is in need of a drink. Before dumping a bunch of water on the plant, be sure to check the potting soil: If it feels dry to the touch, is pulling away from the edges or the pot when lifted feels super light, then it's definitely time for a drink. If you have noticed the above and have leaf loss, your plant is severely under watered and needs a good 30 minute soak in a tub of water.
YELLOWING LEAVES THAT ARE WILTED WITH EXCESSIVE LEAF LOSS
If your plant is looking drab and you have noticed a lot of yellowing leaves developing. It is now time to ensure that your plant has not been overwatered. If the soil feels soggy to the touch, or if you lift the plant and it feels heavy, then the potting soil of your plant is probably overly saturated. You may even notice that the plant is sitting in excess water when you remove it from its decorative pot. If this is the case, then follow the top tip below.
HOW TO SAVE OVERWATERED PLANT?
Remove the plant from its plastic nursery pot.
Find a well aerated position, protected from the elements but still with bright light.
Lay the plant on its side, on an absorbent material like a paper towel.
Allow it to stay this way to air dry the soil for a couple of days.
Replace into its nursery pot, and remove all yellowing leaves.
If your soil is extremely saturated, squeeze out as much moisture as possible. It is critical not to simply re-pot your plant unless the soil is infested with fungus or mould, as this will stress it even more.
Please Note: A yellow leaf at the bottom of your plant near the base is not a cause for concern.
Most houseplants have a natural life cycle. As they mature and produce new foliage, they shed their older yellowing leaves. You can either leave them on until the plant has used up all of its stored nutrients, or you can trim them back.
2. HOW TO WATER YOUR HOUSEPLANT CORRECTLY AND THOROUGHLY?
When watering, it is best to water deeply so that not only the top soil but also the entire rootball of your plant receives moisture. This will ensure that all of your plant's roots are exposed to moisture, preventing them from drying out and keeping your plant nourished.
WATERING LARGE HOUSEPLANTS
To effectively water extra-large houseplants, follow these steps:
Assess the plant's moisture needs by testing the top 5 - 6 cm of soil with your finger—water only when it feels dry.
Either place a saucer under the pot to catch excess water, or remove it from it’s basket and place it on a saucer so you can visibly see the water coming out of the drainage holes.
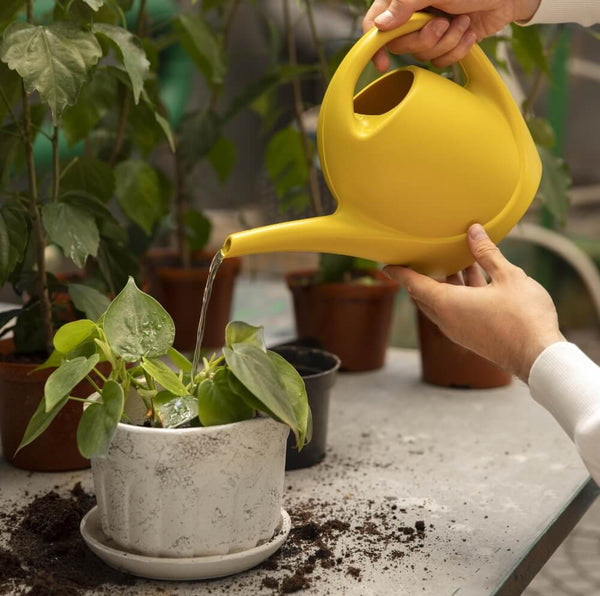
Use a watering can with a narrow spout to deliver water directly to the base of the plant, following a circular pattern.
Pour water in a slow, steady manner, allowing the soil to absorb it gradually.
Stop when you notice water starting to accumulate in the saucer. This method ensures deep penetration without oversaturation, promoting healthy root growth and preventing root rot.
WATERING TABLE TOP & HANGING PLANTS
Follow these steps to effectively water these plants:
Assess Moisture: Check soil moisture by seeing how light they feel and testing the soil with your finger.
Choose a Bucket or Deep Sink: Opt for a suitable-sized bucket to house your plants, a sink with a plug or your bath with its plug in.
Prepare Water: Fill the bucket, bath, or sink with room temperature water. You can allow it to stand overnight to allow the chlorine to dissipate.
Submerge the nursery Pot: Immerse the plant's pot into the water, letting it soak from the bottom up, while adding some water to the top soil to assist with fast absorption. Allow your plants to stand in the water for 15 - 20 minutes.
Monitor Drainage: Lift the pot and let excess water drain out; ensure that when placing your plants back into their decorative pots, they don't sit in standing water.
Return to Position: Place the pot back in its location once adequately drained, maintaining healthy hydration levels.
For more information on watering read our helpful guide: Watering 101: What to Consider?
3. HOW MUCH LIGHT DO HOUSEPLANTS NEED?
The best way to keep them lush and full is to ensure optimal lighting. Here are a few things to look for to determine whether your plant is getting enough light or a little too much.
5 SIGNS YOUR HOUSEPLANT IS RECEIVING TOO LITTLE LIGHT
Inadequate lighting can have a significant impact on the health of your houseplants. Keep an eye out for the following five signs of poor lighting:
Leggy Growth: If your plants are stretching towards the light source, becoming tall and spindly with widely spaced leaves, it's a clear sign they're not receiving enough light. They're attempting to reach for more light, resulting in weak and stretched growth.
Yellowing Leaves: Yellowing leaves, especially those lower down on the plant, suggest a lack of light. Without sufficient energy from light, plants struggle to produce chlorophyll, leading to faded, pale, or yellow leaves. Remember, this is only if you notice large amounts of yellowing foliage, a couple of leaves here and there are natural.
Fewer Leaves: Insufficient light can cause reduced leaf production. If your plant isn't generating new leaves as it used to, it's likely struggling to gather enough energy from light supplied to support full, lush growth.
Leaf Drop: If your plant is shedding healthy leaves, it might be due to insufficient light. When a plant isn't getting the light it needs, it will drop leaves as a survival mechanism to conserve energy. Less leaves means less energy is required to keep the plant alive.
Slowed Growth: Slow growth or a complete halt in growth is another sign, unless it is the winter season, and you have ruled out other causes. If your plant isn't getting enough light, it won't have the energy to perform essential growth processes like photosynthesis, resulting in stunted development.
Address these signs promptly by relocating your plants to a brighter spot where it will receive enough light to keep themselves happy. But be mindful not to burn the plant in direct sunlight either!
Did You Know? Plants with red undersides, velveteen, or dark green foliage are more likely to thrive in low light.
TOP TIP: Light conditions and temperature often work in tandem. When placing plants near a window, it is critical to leave at least a 15cm gap between the window and the plant. Temperature fluctuations, like lighting, can have an impact on your plants. As a result, if you are cold, your plants will be cold, and vice versa.
5 SIGNS YOUR HOUSEPLANT IS RECEIVING TOO MUCH LIGHT
While some soft direct sunlight is beneficial to houseplants, too much direct sunlight can be harmful. Keep an eye out for the following five signs that your plants are getting too much light:
Leaf Discoloration: If you notice your leaves becoming pale, bleached, or even white, it is most likely suffering from sunburn caused by prolonged exposure to direct sunlight. This discoloration is an immediate indication that your plant is receiving too much light.
Leaf Crisping: Browning, drying, and crisping of the leaf margins are all signs of overexposure to light. This occurs because the plant loses more water through transpiration than it can take in due to the high levels of light.
Wilting: While wilting is often associated with underwatering, it can also be a sign of too much light. The excessive heat generated by intense light can cause the plant to lose water rapidly, leading to wilting.
Stunted Growth: Paradoxically, excessive light can hinder growth as much as too little light can. If your plant is receiving too much light, it might focus on conserving energy rather than growing, resulting in stunted or slowed growing houseplant.
Fading Colours: Your plant may be reacting to too much light if its leaves are losing their color and looking dull. The plant's pigments may be damaged by the strong light, and the plants’ overall health may suffer as a result.
If you notice these symptoms, you may want to adjust the amount of time your plant spends in direct sunlight by moving it indoors, using sheer curtains or shades.
You can find out more about the specific lighting requirements for your plant by visiting our Plant Care Sections. It is important to keep in mind that when we say a plant can tolerate a certain lighting, we usually mean it will survive, but may not thrive.
4. HOW TO KNOW WHEN YOUR HOUSEPLANT NEEDS FERTILISER?
Knowing when your plants need fertiliser is essential to keeping them thriving and healthy. Here are some warning signs that your plants need more nutrients:
Slow Growth: If your plants are growing at a significantly slower rate than usual, it could be a sign of nutrient deficiency. Their development is stunted because they are not getting enough of the right nutrients left in their potting soil.
Pale Leaves: Yellowing or pale leaves, especially in younger growth, often suggest a shortage of nutrients like nitrogen, iron, or magnesium, essential for maintaining vibrant leaf colour.
Small Leaves: Insufficient nutrients can lead to the production of smaller leaves than usual. This indicates that the plant is struggling to gather the necessary resources from its environment for optimal growth.
Fewer Flowers in Flowering Plants: If your flowering plants are producing fewer blooms than expected, they might require additional nutrients, particularly phosphorus and potassium, which aid in root, fruit and flower production in plants.
Leaf Drop: Excessive leaf shedding can signal a nutrient imbalance, if you have ruled out lighting and watering. If your plant is dropping healthy leaves, it could be due to a lack of nutrients from infrequent or no fertilising.
Leaves Changing Colour: If the leaves are turning unusual colours, like purple or red, when they should be green, it could indicate a lack of essential nutrients such as phosphorus or potassium. Both of these nutrients are found in all general purpose fertilisers, such as Biotrissol.
If you notice any of these symptoms, it may be time to apply a Balanced Liquid or granular fertiliser designed for the needs of your plant. Over-fertilization can cause its own set of problems, so never exceed the recommended dosage. Check out our blog on Fertilizing plants for more info.
5. REPOTTING YOUR HOUSEPLANTS
Knowing when to give your potted houseplants a little more room to grow is essential for their continued strong, healthy development. Repotting is best done in the spring and summer, when plants are actively growing and can more quickly recover from any trauma caused by the process.
Root Overgrowth: When you notice roots emerging from drainage holes or becoming tightly packed and circling the pot's interior, it's a clear sign that your plant has outgrown its current container.
Slow Growth or Wilting: If your plant's growth has stagnated, despite proper care and regular watering, or if it's wilting more frequently, it might lack sufficient space for root expansion, indicating the need for a larger pot.
Water Runs Through Quickly and the Plant Stays Wilted: If water pours through the pot rapidly during watering, rather than being absorbed, it suggests that the root ball occupies a significant portion of the pot. Repotting allows for fresh, nutrient-rich soil that retains moisture effectively.
Keep an eye out for these indicators and consider repotting your plant into a container that's only slightly larger, providing ample room for root growth while avoiding excessive space that could lead to waterlogging.
For more information on repotting read our helpful guide: Repotting Houseplants, When and How.
6. UNDERSTANDING HOUSEPLANT PESTS
Pests and diseases can be annoying, but they should not put you off because they typically only attack stressed or unhappy plants that are not getting the best care. This could indicate that the plant's environment is not optimal for its healthy growth.
Regular inspections will enable you to stay on top of infestations and prevent their spread. An ideal time to inspect is when you are watering! When inspecting your plants, pay special attention to the stems and the undersides of the leaves.
Here are a few things to keep an eye out for:
Visible Damage: Look for physical damage on the leaves, such as holes, chewed edges, and spotting. Pest presence may also be indicated by distorted or discoloured growth and foliage.
Webbing or cotton wool fluff: The presence of fine webbing or fluffy cotton wool-like clumps on your plant's leaves, stems, or between leaves indicates the presence of spider mites or mealybug, both common pests.
Sticky Residue: If you notice a sticky substance on the leaves of your plant, it might be honeydew that pests like aphids, mealybugs, or scale insects have excreted. This residue can also attract ants or cause a black mold to grow on the leaves.
Tiny Crawling Insects: Inspect the undersides of leaves and along stems for tiny crawling insects, such as aphids or thrips. These pests can multiply rapidly and cause significant damage.
Inspect your plants on a regular basis, especially when bringing in new ones, and isolate any infested plants to prevent pests from spreading. If pests are found, use organic insecticidal soaps or neem oil, or isolate the plant and manually remove the pests.
Under our plant care tab for pests, we have created a variety of pages for each pest. This will assist you in identifying them and directing you on how to treat them. For more information read our guide: Houseplant Pests: Prevention, Identification & Treatment.
In today's fast-paced world, finding ways to incorporate nature into our living spaces has become increasingly important. A Wall Terrarium is an inventive and visually stunning solution. A one-of-a-kind combination of art and gardening that results in a captivating display of greenery that adorns your walls.The best bit is that a Wall Terrarium allow you to bring the beauty of nature indoors, even in the smallest of spaces. These living works of art can transform any environment, from apartments to offices.When it comes to designing a wall terrarium, it is important to keep both aesthetics and functionality in mind. Selecting the right plants, containers, and arrangements is crucial to creating a harmonious and thriving ecosystem. In this article, we will walk you through the best plant choices as well as some creative design ideas for bringing nature's beauty into your living or working space.
WHAT TO CONSIDER WHEN PLANTING A WALL TERRARIUM
Keep in a few aspects in mind when designing your Wall Terrarium will render a much better outcome. Let’s explore…
Firstly, think about the available wall space and select appropriate sizes and shapes for the space. Consider the weight-bearing capacity of the wall and choose a sturdy mounting system. In this case, your local hardware store can provide you with the appropriate solutions to meet your requirements.
Check out our range of Wall Mounted Terrariums to get yourself started. Consider a variety of sizes to create a more dynamic and visually interesting display.
Next, consider the lighting conditions in the designated area. Different plants have varying light requirements, so choose species that will thrive in the available light. Additionally, consider the accessibility of the terrarium for watering and maintenance purposes. Ensure that it is within reach and easy to care for.
When selecting plants, opt for species that are suited for the tight, limited spacing available as well as their growth habit and reach; compact upright growth or trailing plants are ideal for this. Choose plants that have similar water and humidity requirements to simplify care.
When selecting soil for a wall-mounted terrarium, choose a well-draining substrate such as a mixture of cocoa peat and perlite, though this will be plant dependent, as succulents prefer a less rich, more sandy soil. Avoid heavy or water-retentive soils that can lead to root rot. The soil should provide adequate moisture retention while allowing excess water to drain easily.
Lastly, think about the overall aesthetic and design. Consider the visual appeal of different plant textures, colours, and shapes and the attractive soil patterns you can create when arranging the terrarium. Experiment with different layouts and arrangements to create an eye-catching display.
By considering these factors—wall space, lighting, accessibility, plant selection, and design—you can create a stunning wall-mounted terrarium that brings nature's beauty to your indoor space.
13 BEST PLANT FOR WALL TERRARIUMS
The plants listed below are fantastic for both their appearance and their ability to thrive in a wall-mounted terrarium.
TRAILING PLANT OPTIONS
Trailing plants are ideal for wall-mounted terrariums because their cascading growth creates a visually appealing and space-efficient display, maximising the vertical space available.
Heart Leaf Philodendron
Golden Pothos
Trailing peperomia like the Round leaf Peperomia and Peperomia Tetraphylla Hope
Lace Ferns
Philodendron Florida Beauty
Hoya varieties
Consider choosing these plants in Mini versions, or 10cm grow pot size. Have a look at our Mini Collection here. Also, for more trailing plant options checkout our Hanging Plant Collection.
UPRIGHT GROWING PLANTS
Upright Growing Plants are ideal for wall-mounted terrariums because they add height and structure to the display, creating a vertical focal point. However, keep in mind how wide the plant grows, as it may become crushed against the wall. Your best bets are compact growth habits.
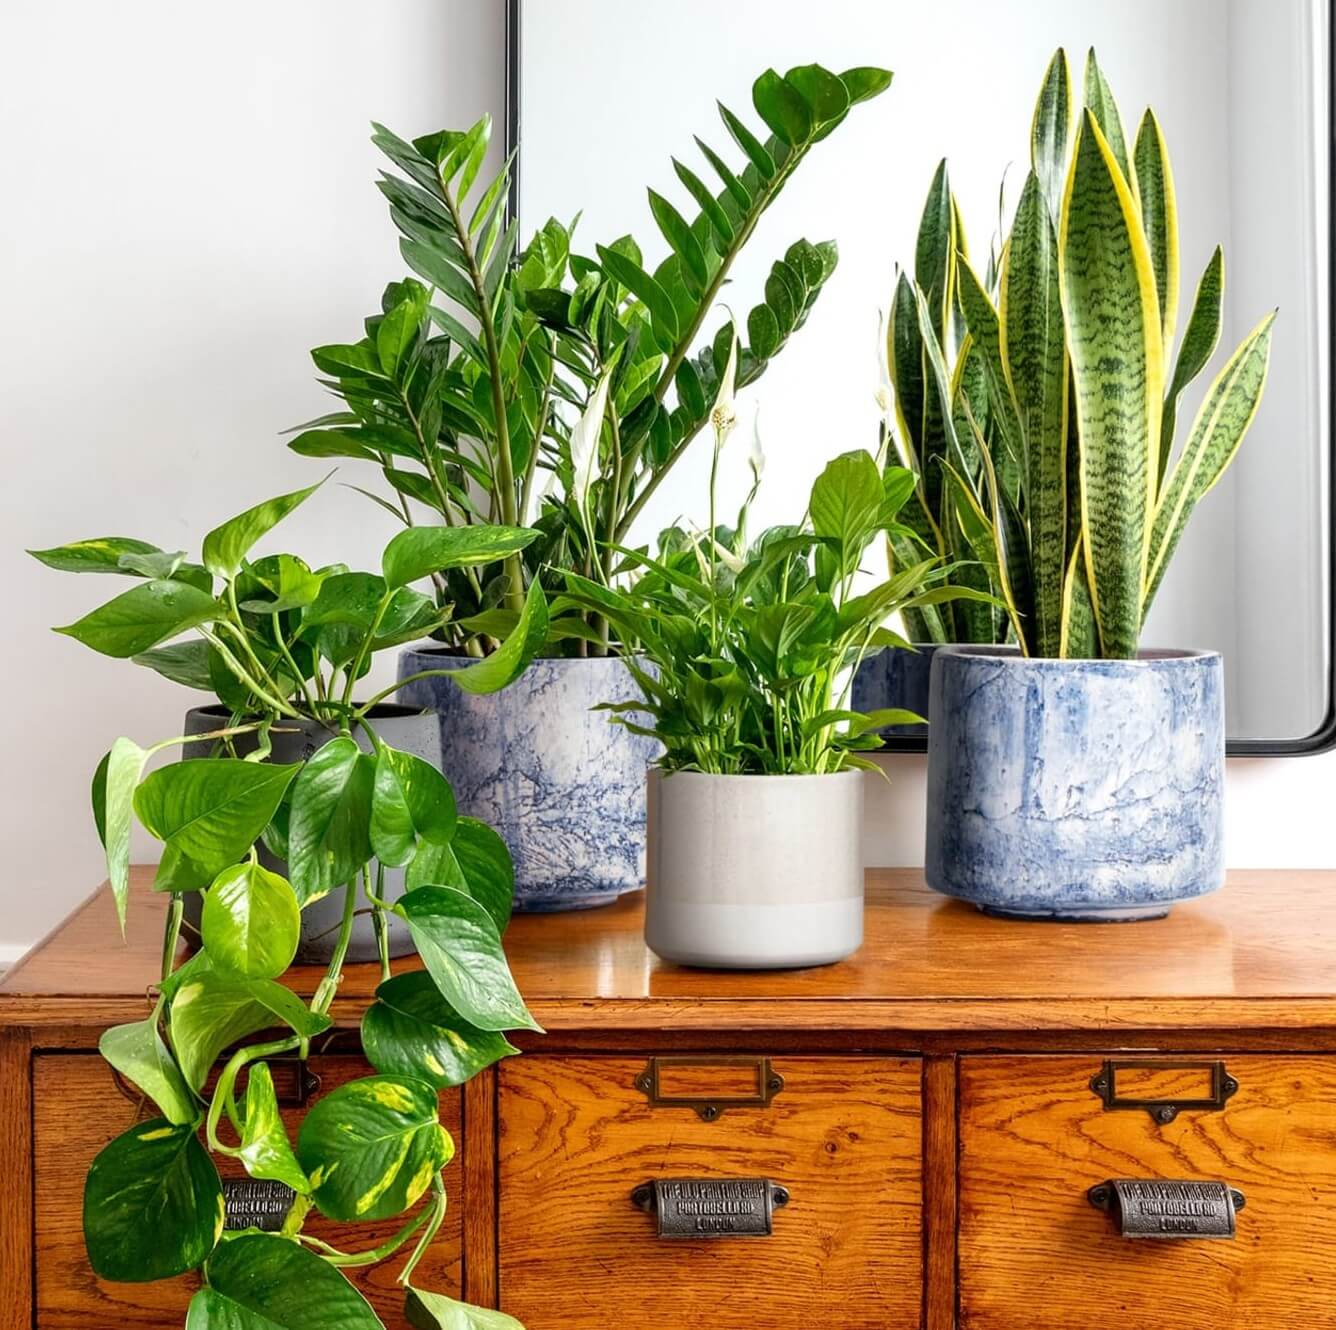
Peace Lily
ZZ Plant
Calatheas
African Milk Tree
Autumn Fern
Nerve Plants
A variety of succulent plants such as : Silver Squill, Shrek’s Ears and Panda ears are great for creating a desert theme.
We’ve listed the plants according to their trailing and upright growing habit. But no reason why you can’t combine the two styles for a mixed effect.
